This Guide will cover most other things regarding the Zoning Tools, as well as more advanced uses.
Looking for the Basics?
Read the Basic Zoning Guide.
Prerequisites #
To follow this Guide you should:
- Know the basics of using the Zoning Tools
- Be on Momentum 0.8.0+
- Be running Momentum with
-mapping - Have the Developer Console enabled and be able to use it
More on Auto Mode #
Whilst the Auto Mode can work for the basic Start and End Zone setup, it has a somewhat hidden option to create Stages instead of the End Zone through a toggled cvar: mom_zone_auto_make_stage
This will only apply once the Start Zone has been created.
You should bind this to a key for ease of use, although there is currently a bind to the Right Alt key by default. There is no visual indication but if you check the cvar, it will have changed.
Stages and Checkpoints #
Stages and Checkpoints cannot be created with the Auto Mode in the Zoning Tools, so you must change it manually via the drop-down menu.
Want to know more about Stages and Checkpoints?
Check the Zone Types Guide.
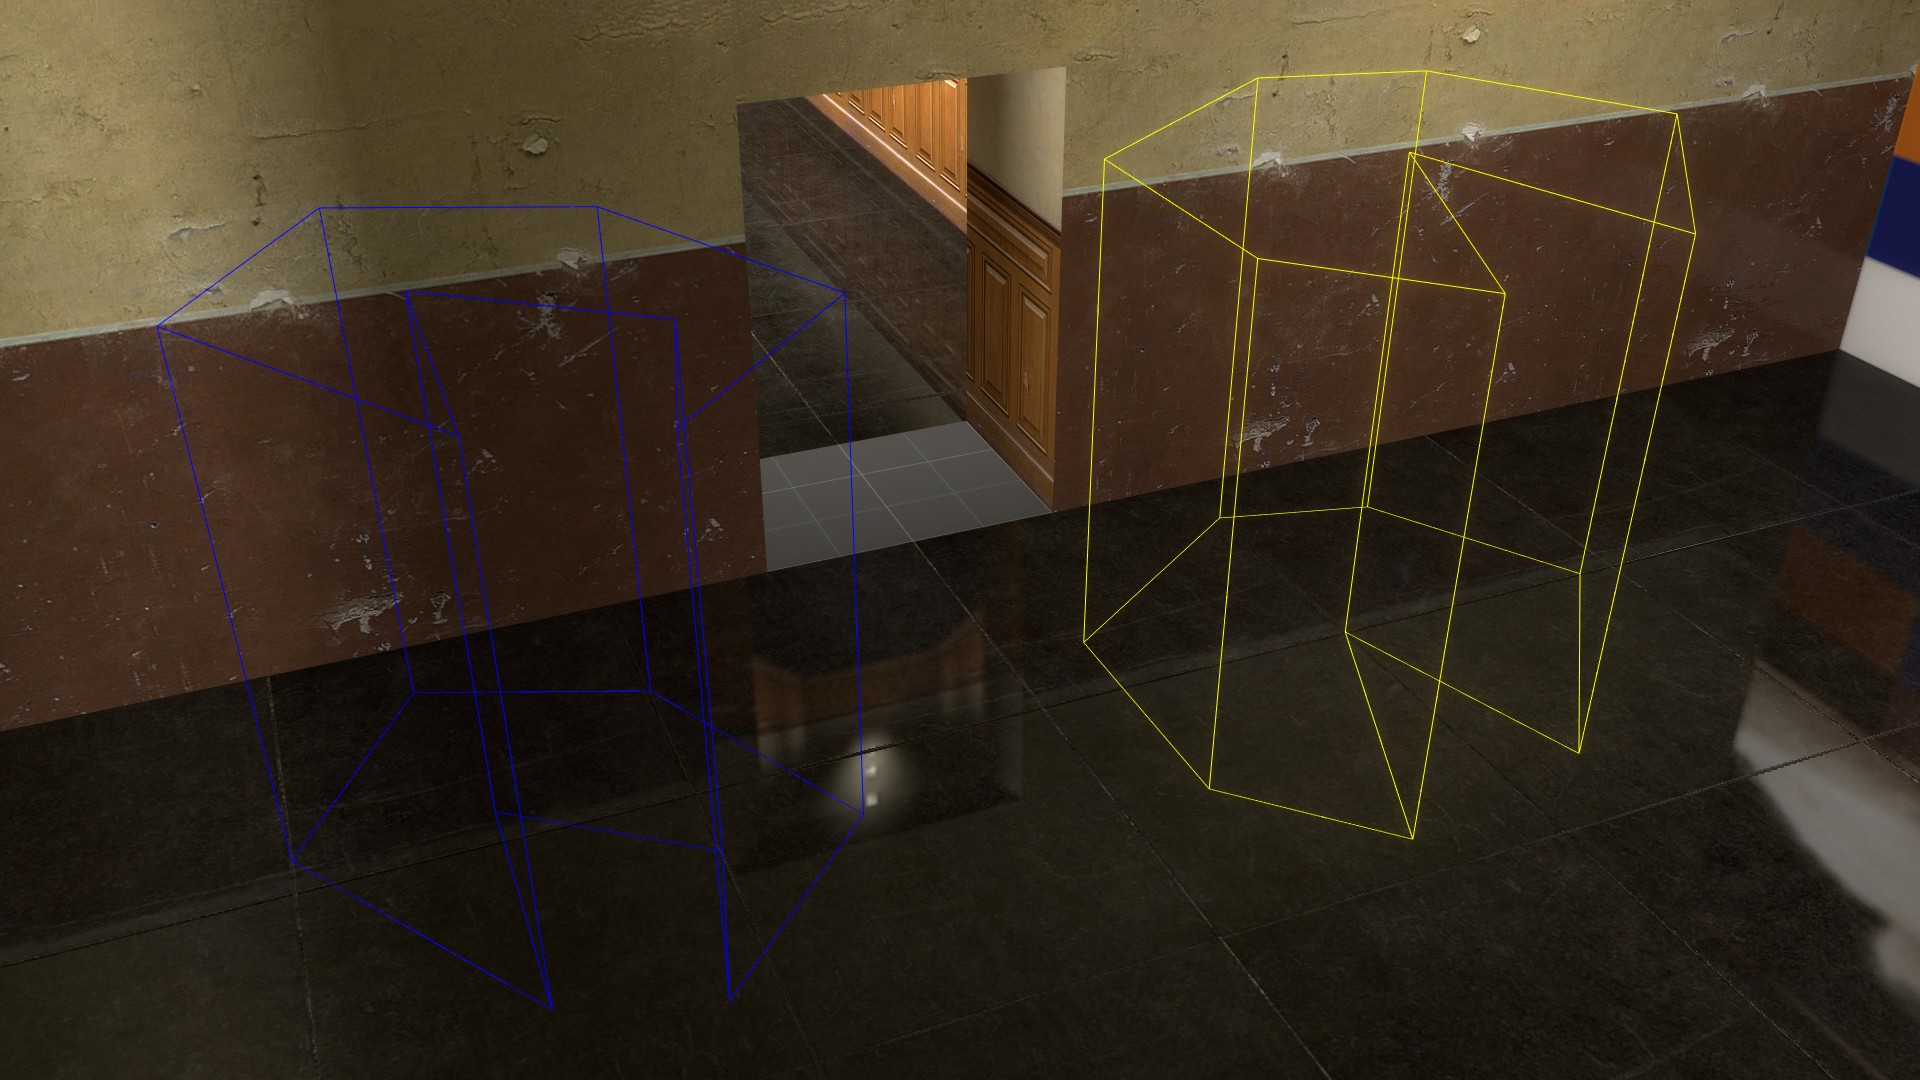
Concave and more complex Zone shapes #
If you want a more interesting Zone shape, the “Point-based Zone Construction” option is what you’re looking for.
Whilst checked, when you begin to draw out a Zone, things will look different:
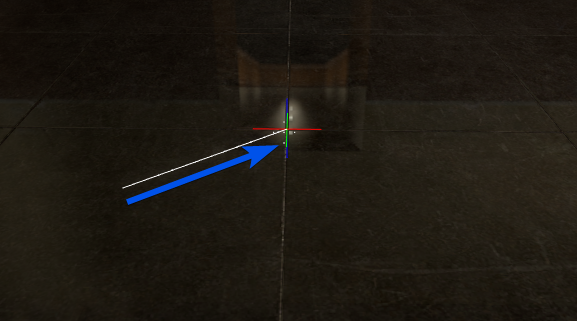
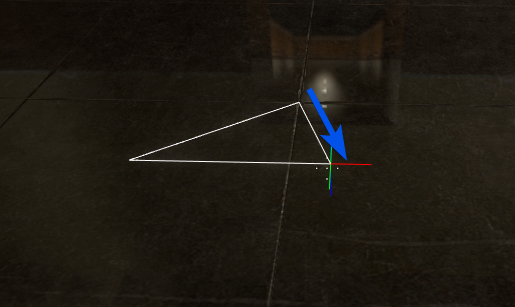
You will begin to draw out a line instead of a rectangle. Click again and it will become a triangle when you move the mouse again:
And as mentioned before you can have concave shapes like so:
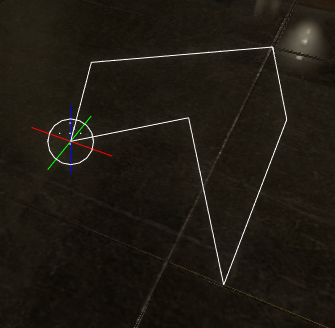
Once you have made the shape you want, you have to use the Enter key to move on to extruding it upwards as clicking will only continue to make more lines.
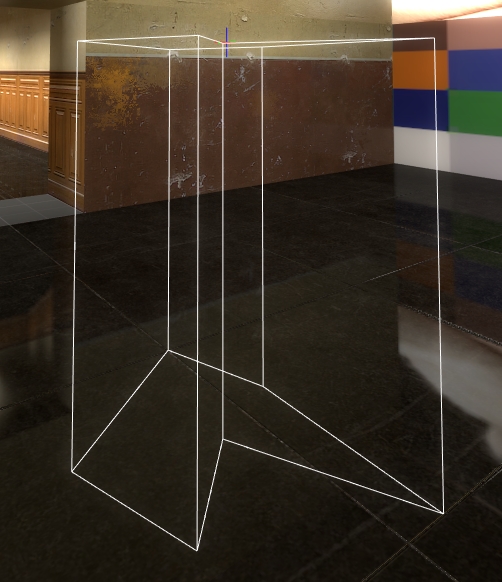
Once the height is where you want it, press Enter again.
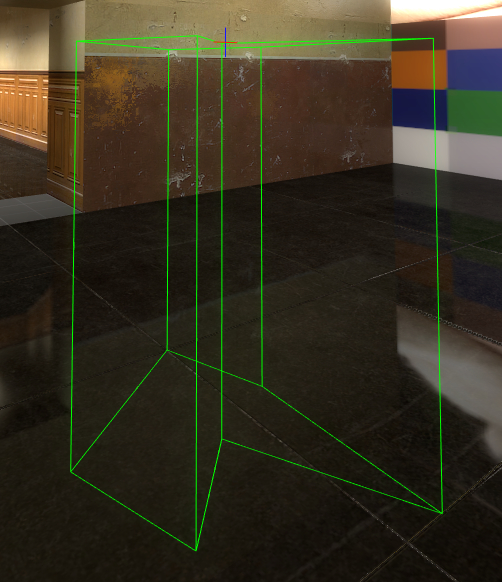
The Zone will change colour and be finalised.
Want to find out more about the Zones in Momentum?
Check the Zone Types Guide.
Make sure to click Save Zones when you are done!
Track Number #
Track Number defines whether the Zones you create are for the main map or any bonuses that it might have.
By default, this number will be 0, which indicates that you are creating Zones for the main map.
If it is above 0, then you are creating Zones for a Bonus instead, the number corresponding to which Bonus it is.
For example, Track Number 3 would be for the 3rd bonus.
To teleport to a bonus, or back to the main track use the
mom_restart
command.
In this example, to get to bonus 3, you would use mom_restart 3.
Zone Number #
This number is for the ordering of Zones.
It is set to 0 by default, which means it is automatically assigned so this is for any ones you want to manually specify.
Start triggers begin at 1, so anything you specify should start at 2.